If you are a regular reader of this blog, you will know that I do all my writing using Markdown format, short-form in Byword, long-form in Scrivener and generate the final document using Marked.
In short: I write all my work documents, including letters, reports and software documentation in Markdown formatted text files and then format them using Marked and a standard stylesheet (See Letterhead - Markdown Style for how that works). See The Markdown Payoff for why.
In this post, I will share how I set up and use Scrivener and Marked melded together for larger, more complex documents at work and why.
Why these tools?
Just in case you are new to the products, the reasons I use Marked include:
- I can preview any document I write as it happens in the format it will be generated in, while not spending any time actually formatting it.
- I only had to set up that format CSS once (and save it as a Marked template). From then on, all my documents gained a consistent form, look and feel.
- I can export the same document into a myriad of formats with ease.
The reasons I love Scrivener include:
- I can just write, I do not have to worry about format.
- I can reorganize and restructure longer documents easily.
- I can store research and notes inside the same document file.
- It has a corkboard to remind me what goes in each section of a standard business document.
- I have full control over all aspects of the content and final deliverable.
- And it too can output the final document in any format.
Why together, then?
Since I already write everything in Markdown, and have the stylesheet already set up in Marked, I prefer to use these products side-by-side to produce consistent quality results. From a small 1 page letter or memo or a 25 page specification, they all come out looking consistent.
How I use the meld?
While Writing
While I am writing the document, I write using Markdown format in Scrivener. I create a folder for each section and a scrivening for each sub-section. I use the corkboard in Scrivener to note what content should go into what sub-section.
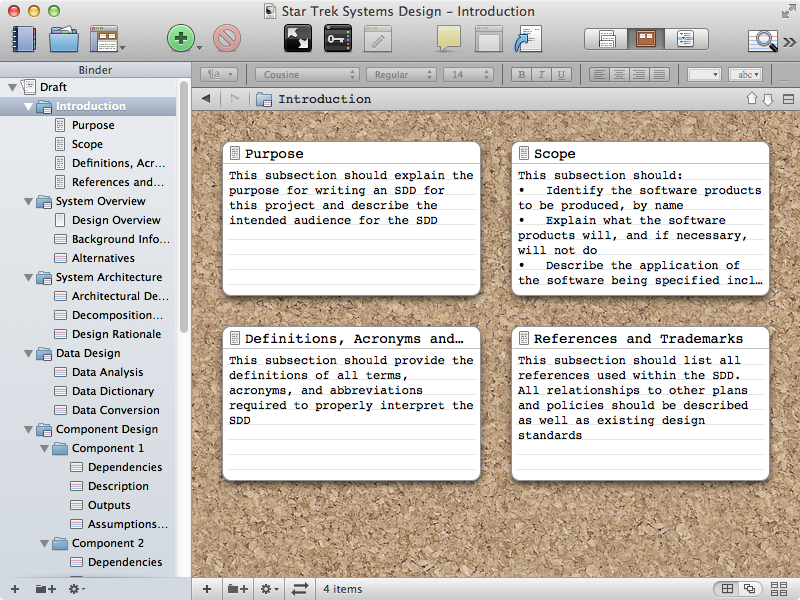
This structure enables me to (a) focus on that sub-section alone, and (b) to never lose sight of the structure of the document and be able to navigate around easily. Note that I only write the sub-section title once as the document title, and will display and change it later.
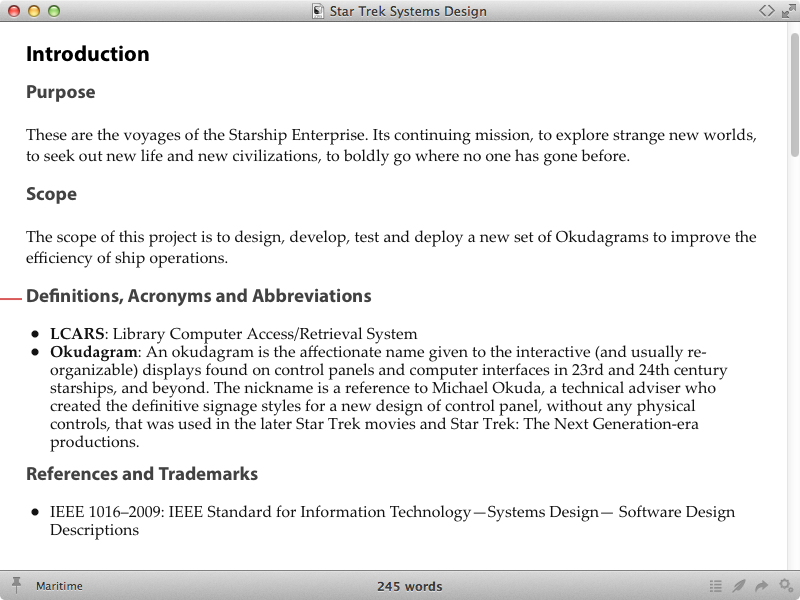
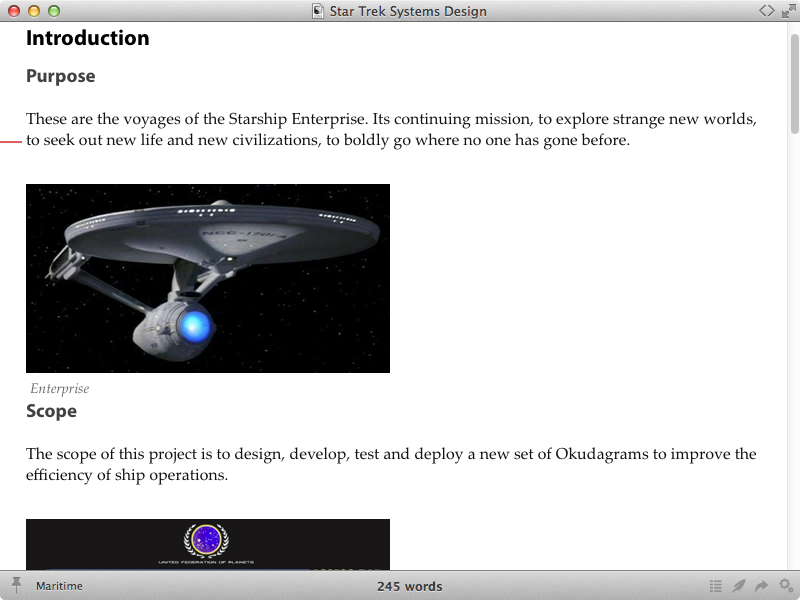
When I feel I have finished writing a section, and have proof-read it a few times in Scrivener, I like to preview it in Marked. Just seeing the same content rendered the way it will turn out helps me see if and where more work is needed.
If this does not look the same to you, never fear, I’ll show you how to get set it up so that it does below.
After Writing
Once I have completed writing the document, I use Scrivener’s compiler to create the final Markdown document file. This I then open in Marked and produce the final PDF, ePub or web page.
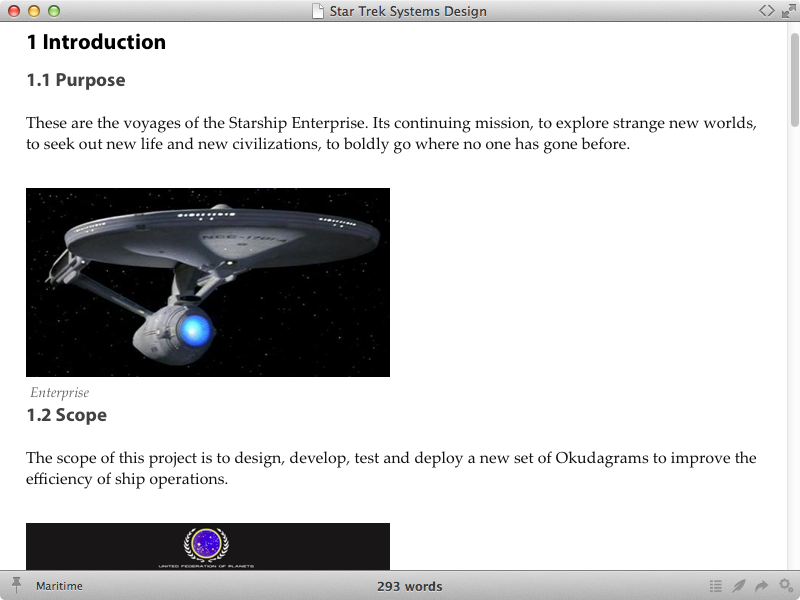
You may note that this final processing has added images and outline numbering for me (compare this to the previous image). I’ll show you how to do this too.
So how does the meld work?
In order to make the meld as seamless and as simple as possible, you need to configure a document folder and both products accordingly.
Preparation
Install MultiMarkdown
In order to access Scrivener’s MultiMarkdown compiler, you need to have MultiMarkdown installed. This is really easy to do.
- Go to Fletcher Penney’s MultiMarkdown Downloads Page and download the Mac Installer.
- After it downloads, go to your Downloads folder and double-click the
.zipfile to expand it. - Double-click the installer icon, and follow the instructions to complete the install.
Prepare the Document Folder
I do this because it makes it easier to add images to the Scrivener document and see them in Preview and Final without document changes. You’ll see how it works.
I create a folder for the document and two sub-folders, images and markdown. I place all the images the document needs in the images folder.
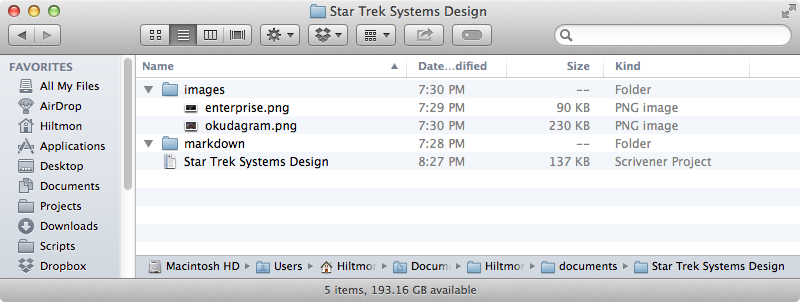
In this case, the Star Trek Systems Design is the Scrivener document in the Star Trek Systems Design folder. Below it are two images in the images folder, enterprise.png and okudagram.png. There is nothing in the markdown folder, yet.
Scrivener Setup and Tips
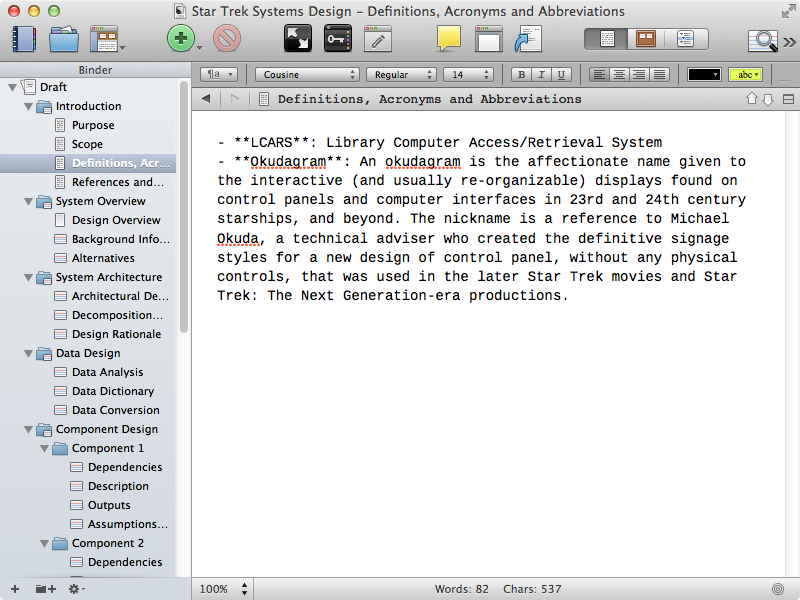
I use a monospaced font with no indent while writing in Markdown. This gives the the feel of working in plain text and gets rid of any Markdown issues with indents.
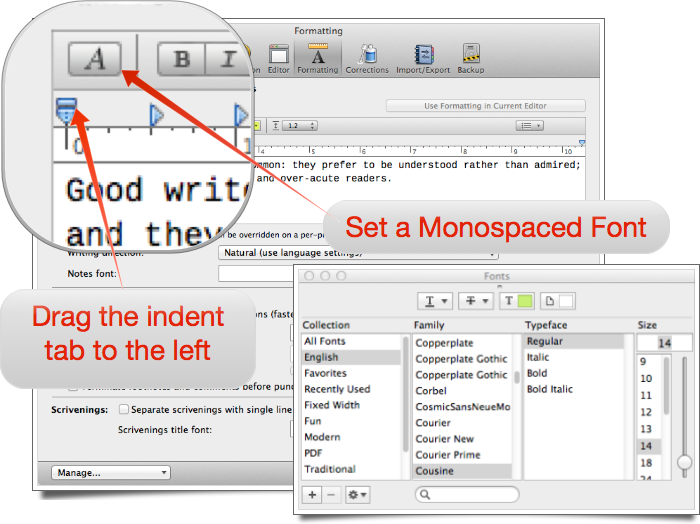
You can download the brilliant Cousine Font from Google here. Just click the down arrow, then .zip file to download, double-click the .zip file in Downloads to expand the file and drag all files (except the .txt) file into FontBook.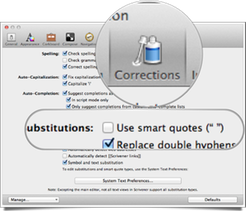
You also need to disable Use smart quotes (" “) in the Corrections tab as (a) Marked takes care of this and (b) you may need to put some raw HTML in (or image attributes) and smart quotes cause this to fail.
And what about markdown image references? Since we can’t use Scrivener $img tags here as we’re writing Markdown, we need working Markdown image references so we can preview in Marked while writing. The “trick” for image references is to point them to the images folder as follows:

Note the ../images before the file name, it is needed.
If you need to add HTML attributes to the image, use a reference link (I leave them in the same scrivening):
![Enterprise][enterprise-image]

[enterprise-image]:	../images/enterprise.png width="75%"
This is why we turned smart quotes off.
If you now open the Scrivener document in Marked, you will see it in the style you prefer, with images.
To complete the document and set heading numbers?
Since all my business documents need automatic heading numbers, I set them up in Scrivener’s compile options.
Choose File / Compile… or press ⌥⌘E. Click the Formatting option and tick off the title for all document levels, we want them included. Also, set the Compile For to MultiMarkdown.
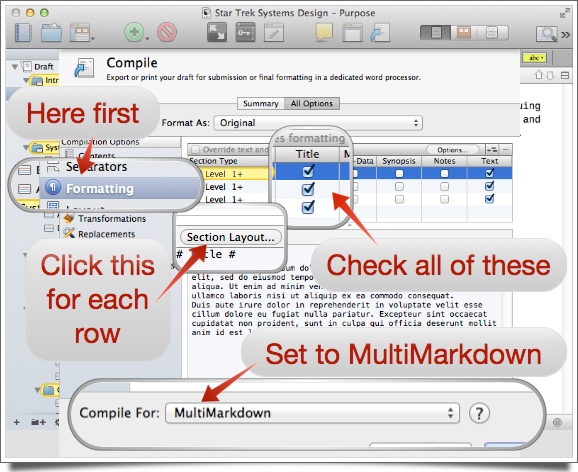
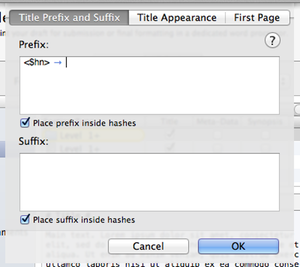
Then, for each row, click Section Layout…. Type in
<$hn>⇥
That’s <$hn>TAB in the Prefix box.
This will tell the Scrivener compiler to put heading numbering in for each title. You must do this for each level. You only have to do this the first time, after this Scrivener remembers these settings in your document.
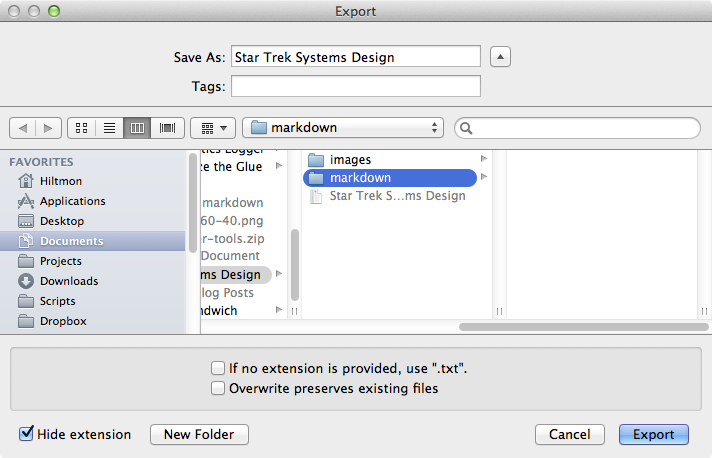
Hit Compile and Save the result into the Markdown folder. You need to do this in the correct folder so that image links work (and in my case so I do not get confused between the final Markdown file and the in-progress Scrivener file).
You can now open the final document in Marked for some final touches.
Marked Setup and Tips
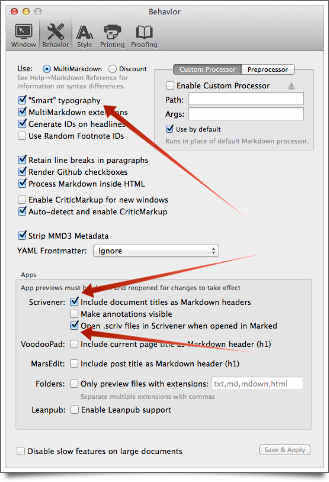
While editing in Scrivener and previewing the Scrivener file in Marked, you want the following settings enables in Marked Preferences:
- “Smart” typography turned on to fix smart quotes
- Include document titles as Markdown headers so you see them
- Open .scriv files in Scrivener when opened in Marked
This allows you to preview the Scrivener document in Marked as it would appear when exported.
You can also set your preferred stylesheet in the Style tab to save time when previewing the document.
Update: This post was written for Marked 1, it still works with Marked 2. But if you have the App Store version, you will need to give Marked permission to access your hard drive to retrieve images. Go to Preferences / Advanced and click on Update Permissions to enable. (Thanks to reader George Entenman (@zabouti) for the tip.)
Any settings for the final exported Markdown document?
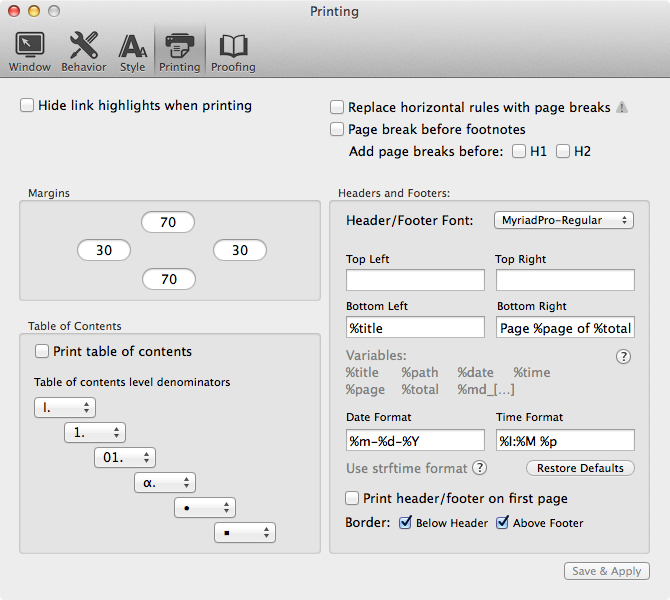
I like to have the document name and page numbers at the bottom of the page when I print. In Printing, I set the Bottom-Left to %title and the Bottom-Right to Page %page of %total and changed the font to match the style. I also check the Border / Below Header and Border / Above Footer as I prefer a line there. Click Save & Apply to save your changes.
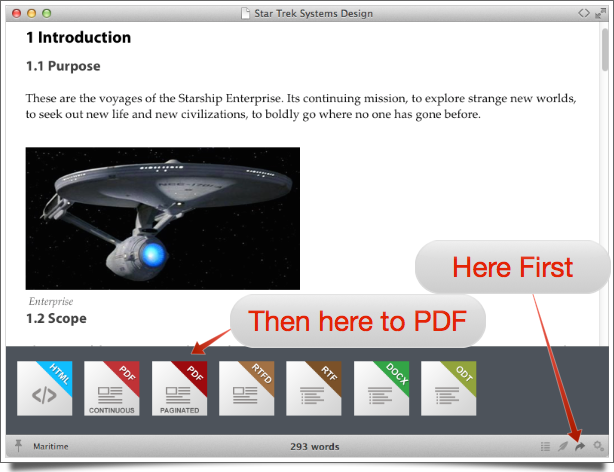
To print the final document, click the Export Drawer in Marked or press ⌘⇧E and click the Paginated PDF to generate the final PDF file.
And there you have it, a formatted, paginated version of your complex Scrivener document.
Using the meld
It sure looks like a lot of work to get this set up and working, but when you do a lot of these, the setup become easy. Create your first document like this, and for the next, you only need to change the font and compile settings in Scrivener once. After that, it should all just work.
I create a lot of larger, complex business documents this way in Scrivener. It allows me to focus on the content and structure and yet generate a consistent document format each time using Marked.
Follow the author as @hiltmon on Twitter and @hiltmon on App.Net. Mute #xpost` on one.